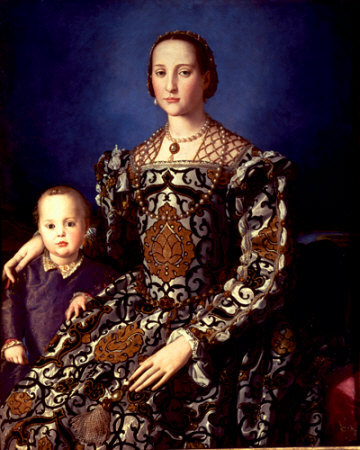
Oops, its been ages since I posted here. But in my defence I have been doing all sorts of stuff, some of it is even interesting.
I finally made a mould for the Eleanora buttons. I seated the prototype button in a plasticine base and make a collar out of plastic before pouring a 2 part non vulcanising rubber over it to form the mould. I kept my fingers crossed overnight as the rubber set and hoped like mad that I hadn't just destroyed one of the prototypes in the process. Apart from a little bit of the rubber seeping under the edge of the button which had to be trimmed away, the button released from the mould really well and I have a mould ready for casting :)
I have also been teaching myself to make felt and shape hats, this my first attempt at both. Its a little thin in places on the top and I can see where i need to felt it better, but it has shaped up ok and with a coat of shellac to add some extra stiffness, I think it will be ok :) More decoration to follow.
I used a Hat Shaper plastic hat form, which have an Australian supplier in Tasmania, so postage was both quicker and speedier than having to get one (or two) from the US.
I am currently working on making a couple of Spanish 16th c dresses, starting with remaking a Farthingale. I had used a commercial Tudor undergarments pattern and measurements from Alcega (via
www.renaiassancetailor.com) but it just looked too big. After a bit of help from the Elizabethan Costuming Facebook group (fantastic bunch of people, very generous with their amazing skills and knowledge) adjusted the hoops down quite a bit for a better shape. I used spring steel boning in the hoops to hold the shape, 11mm spiral steel just didn't cut it. I will find the before and after pictures and add them later.
The first Spanish dress is a remake of an Elizabethan dress I made way back in 2007 when I really had no idea what i was doing, and it will be made up as an early 16th c Spanish number. I am using Margo Anderson's Elizabethan wardrobe pattern. I need a new pair of bodies for both, so will be making up the Dorothea bodies from Janet Arnold's Patterns of Fashion, probably with spiral steel boning - ill see how it fits.
The second Spanish dress will be a late 16th c style with a doublet bodice. I found this amazing fabric at
www.sartor.cz and its a reproduction of a piece of 16thc Spanish silk in the Metropolitan Museum and is described as swans and lions - not pelicans - which is a good thing because pelicans in their piety are a restricted charge in the Society for Creative Anachronism...which would have caused some issues as I am not a member of the Order of the Pelican. More details on these as they progress. But isn't the fabric Divine :)
Somewhere I have pictures of a gown I whipped up for a "Not as it seems" feast.....ill add these later.
Talk like a Pirate Day in Fremantle was a lot of fun despite the weather being somewhat windy and wet. I made a little redingote jacket to wear. I had everything except for the buttons in my sewing room. The coat is made up of :
a red wool outer fabric
interlined with a fairly stiff woven interfacing down to the waist
lined with an imitation silk.
velveteen collar and cuffs
metallic ribbon and braid for the trim.
I used a Truly Victorian pattern as a base and cut away the shape i wanted and added a little on the side. I found the pattern really easy to work with and the pattern pieces went together so nicely, I will be using that pattern/company again. I wore it with a Blond Swan hat which is just too awesome for words. I wore the coat with jeans and boots because of the muddy grass (and I didn't want to pressure sew a skirt just before the event) and a white brocade corset. Just ignore the kirtle its sitting over, I was too lazy to undress my mannequin.
What else? a '20's number for "A Saucy Little Secret" at The Ellington Jazz Club - great show - and some more couching on the EoT skirt. Lots of variety and not much blogging. Ill try to do better :)


